
What to Consider When Buying a Monitor Light Bar
A monitor light bar can illuminate your keyboard, notes and desk without taking up space beside your screen. Choosing one takes more than comparing brightness or screen size, though. The clamp must fit your monitor, the light must reach your working area, and the controls should suit how you use your desk.
Use this guide to check those details before buying, whether you work with a single monitor, a curved display or a dual-monitor setup.
Start with three questions: Will it fit securely? Will it light the area where you work? Does it offer the controls and power connection you need?
1. Check the Physical Fit
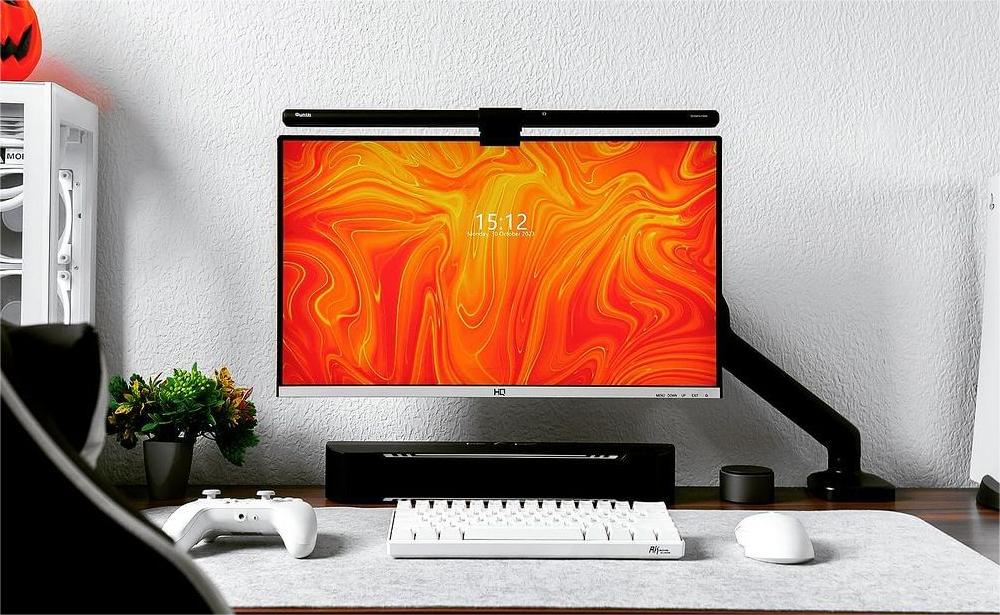
Measure your monitor’s thickness where the clamp will sit, then compare it with the specific light bar’s supported range. Check the shape of the rear housing, too: a deep curve, raised section or sloping back can affect how the clamp rests.
- Top edge: Check for enough space to position the clamp securely.
- Clearance: Keep the webcam, sensors and ventilation openings unobstructed.
- Curved screens: Confirm that the light bar and clamp support your monitor’s curvature and housing.
- Laptops and all-in-one computers: Check explicit compatibility rather than assuming a desktop-monitor light bar will fit.
A screen’s diagonal measurement does not describe its top-edge thickness or clamp geometry. A recommended screen-size range is a starting point; the physical fit still needs checking.
2. Match Coverage to Your Workspace
Think about what needs light: your keyboard, a notebook beside it, or a wider area used for drawing and paperwork. A light bar may fit the monitor securely but leave part of that working area dim.
Bar length matters, alongside the beam pattern, mounting height and lamp angle. When comparing lux figures, look for the measurement distance, brightness setting and measurement location. A single center-point reading does not show how evenly the whole desk is illuminated, and figures measured under different conditions may not be directly comparable.
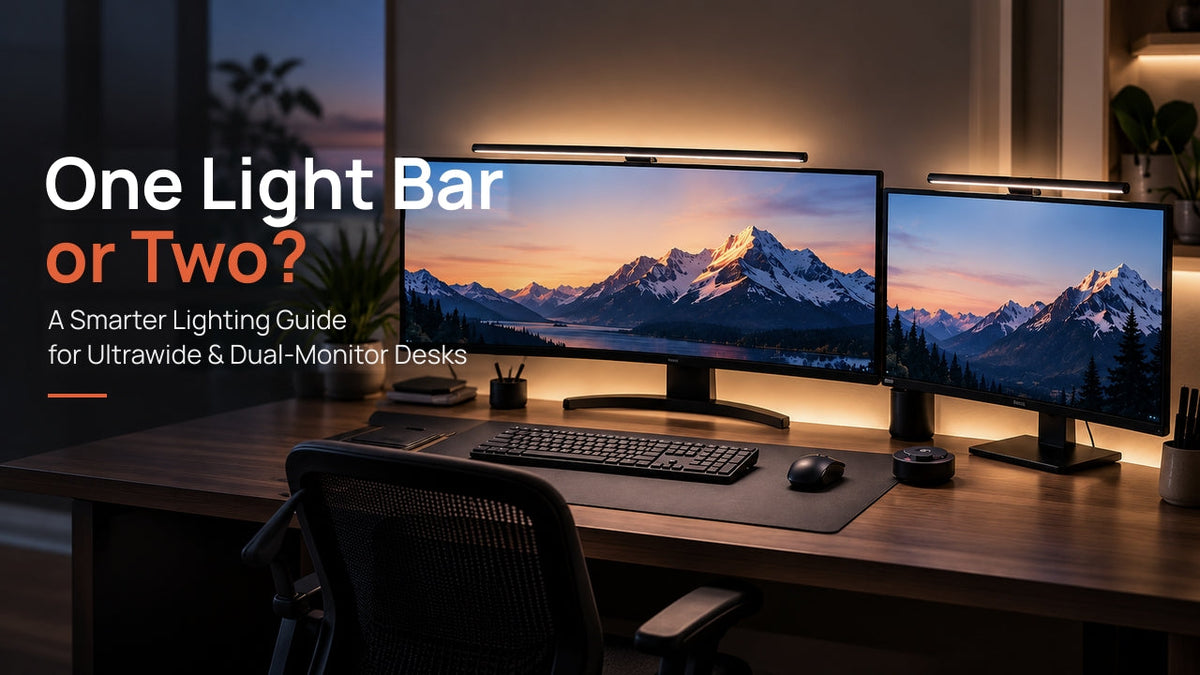
Look for useful, adjustable illumination rather than simply the highest brightness. For a wider desk or two separate work areas, see our dual-monitor lighting guide before deciding how many light bars you need.
3. Look at Glare and Flicker Claims
An asymmetric light distribution can help direct light toward the desk and away from the display. The result also depends on the screen surface, lamp position and viewing angle. Once installed, check from your normal seated position for reflections on the screen or a distracting view of the light source.
These features can help you choose a more comfortable lighting setup, but they do not guarantee freedom from eye discomfort. Room lighting, screen brightness and working habits also matter. Our guide to eye-friendly monitor lighting explores these considerations further.
4. Choose Brightness and Color Temperature Controls
Adjustable color temperature lets you choose a warmer or cooler appearance to suit your surroundings, task and preference. Check how adjustment works: some models offer a fixed number of presets, while others allow continuous adjustment. A stated temperature range alone does not tell you which system you are getting.
Brightness control deserves the same attention. Stepless dimming lets you adjust brightness continuously by hand. Automatic dimming uses a sensor to adjust output in response to ambient light. One does not imply the other.
Choose a model with a useful adjustment range for both brighter and dimmer rooms. If automatic adjustment matters to you, check whether the model provides it and how its manual controls work alongside it.
5. Understand Front Lighting and Backlighting
The front light illuminates your working area, including the keyboard and nearby objects. A rear light illuminates the area behind the monitor, while RGB options can add decorative color.
Decide which role matters most to your setup. Backlighting can complement the room’s atmosphere, but it does not replace adequate light on papers or other desk tasks. Check whether front and rear lights can be controlled separately, and whether the rear light offers white light, RGB effects or both. These details vary by model.
6. Compare Everyday Controls
Choose controls you can reach comfortably. On-lamp touch controls keep the setup simple, while a separate controller may be easier to use with a high or distant monitor.
For memory functions, check which settings are saved and whether they are restored after switching off, disconnecting power or both. Do not assume every model remembers the same settings.
If you want coordinated adjustments across several light bars, confirm compatibility between the lamps and controller before buying. Shared branding does not guarantee cross-model pairing. The Quntis multi-light pairing guide explains supported pairing arrangements and setup steps.
7. Confirm Power and Installation Requirements
Check the voltage, current and power-source requirements in the model’s instructions. A USB-C connector identifies the connection type; it does not, by itself, confirm that a computer port or adapter can provide the required power.
Review the included accessories and cable length before ordering. A connector adapter is different from a wall charger, and a USB-powered light bar does not necessarily include a charger. Think about cable routing and whether your chosen port remains powered when the computer sleeps.
Follow the model’s installation instructions for clamp positioning, lamp-angle adjustment and any required tightening. Touch gestures, buttons and adjustment mechanisms can differ, so avoid relying on instructions for another light bar.
8. Your Final Buying Checklist
Keep your monitor measurements and a quick description of your desk tasks beside you as you compare models. Use this checklist to identify any unanswered questions before checkout.
| Check | What you need to know |
|---|---|
| Physical fit | Supported thickness, rear-housing shape, curvature and clearance for cameras, sensors and vents. |
| Desk coverage | Whether the beam reaches your keyboard, notes and other task areas at your mounting height. |
| Lighting controls | Brightness adjustment, color temperature presets or continuous adjustment, and any automatic dimming. |
| Extra features | Backlighting, memory behavior and compatible multi-light controls, if needed. |
| Power and accessories | Required power source, cable length, included adapters and whether a charger is supplied. |
| Purchase terms | Warranty coverage and return conditions for your region and chosen seller. |
Ready to compare your options? Use the Quntis Find Your Light comparison page to explore the range, then check the current product page and instructions for your shortlisted model.
For another overview of the differences, read our Quntis monitor light bar comparison guide.